17/02/20 - 2/03/20 (Week 7 - Week 9)
Neoh Kar Yan (0339338)
Intercultural Design
Final Project & Portfolio
INSTRUCTIONS
FINAL PROJECT PROGRESSION
Week 7
After gathering our collected data and research, we proceeded to come up with the idea for our final outcome. We had several online discussions on discord and discussed many ideas along the way, some including as below.
After consulting with Mr. Asrizal on our ideas, he suggested us to make a layer cut artwork if we plan to convey the timeline and story of Kitsune, a poster showcasing the information about Kitsune and the gacha machine for added fun.
Week 8
We finalized our idea which is to create a gacha machine and a kirigami tunnel lightbox. This idea aims to tell the story about the mythology of Kitsune from the past and related back to the present influences in pop culture. We discussed and delegated specific roles to focus on.
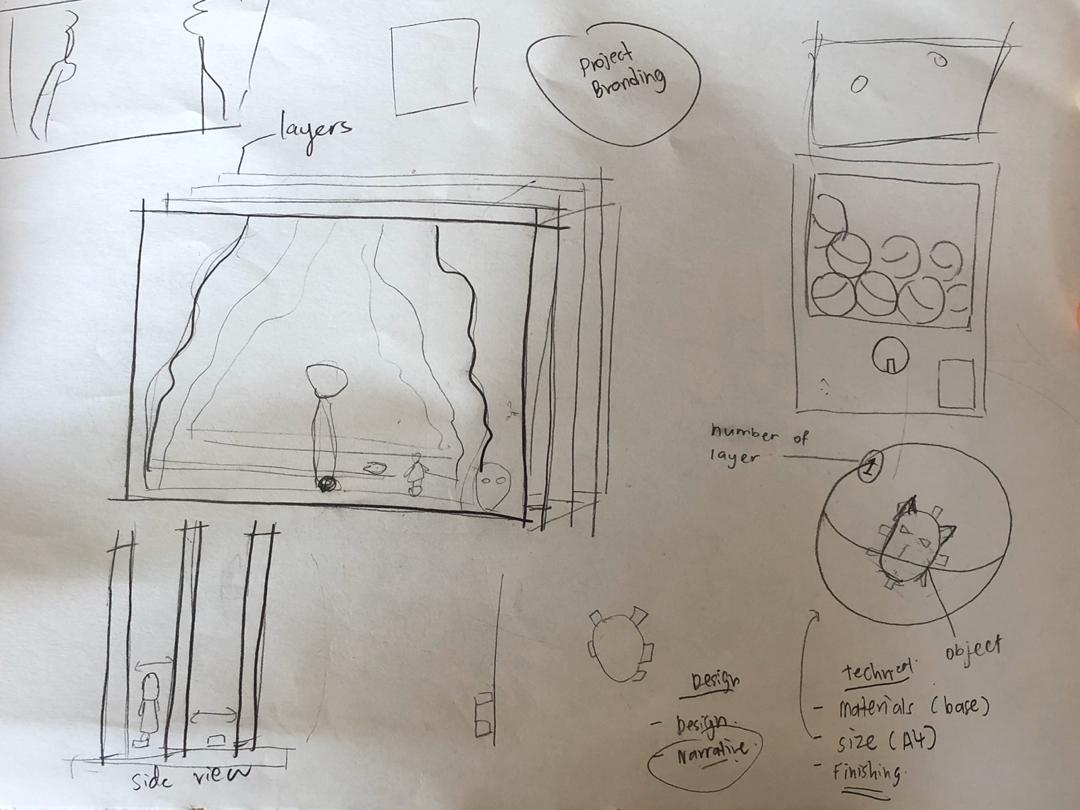 |
| Fig 1.1 Ideas and sketches |
 |
| Fig 1.2 Delegation of tasks |
Our specific roles were as below:
Caitlin - Making the Gacha machine
Kar Yan - Design lightbox
Yuanmei & Jia Yi - Making of Gacha figurines
Kirigami Nine-Layered Tunnel Light Box
 |
| Fig 1.3 Rough sketch for the lightbox by Yuanmei |
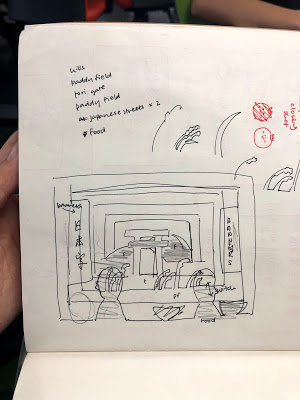 |
| Fig 1.4 Second sketch by Jia Yi |
After discussing and getting ideas from the group, I begin digitizing the layers in Illustrator. The design of the lightbox should include past elements like mountains and paddy whereas present elements like the nightlife in Japan.
 |
| Fig 1.5 Process of digitizing |
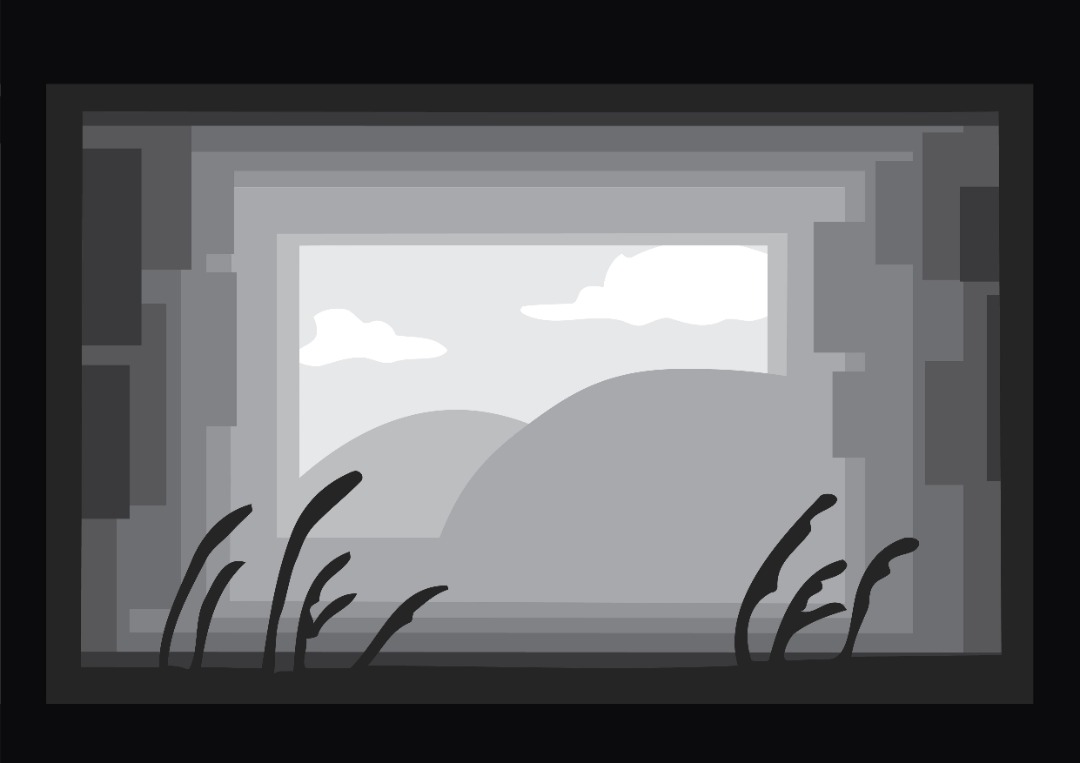 |
| Fig 1.6 Attempt #1 |
 |
| Fig 1.7 Attempt #2 (I changed the paddy and added Japanese signboards) |
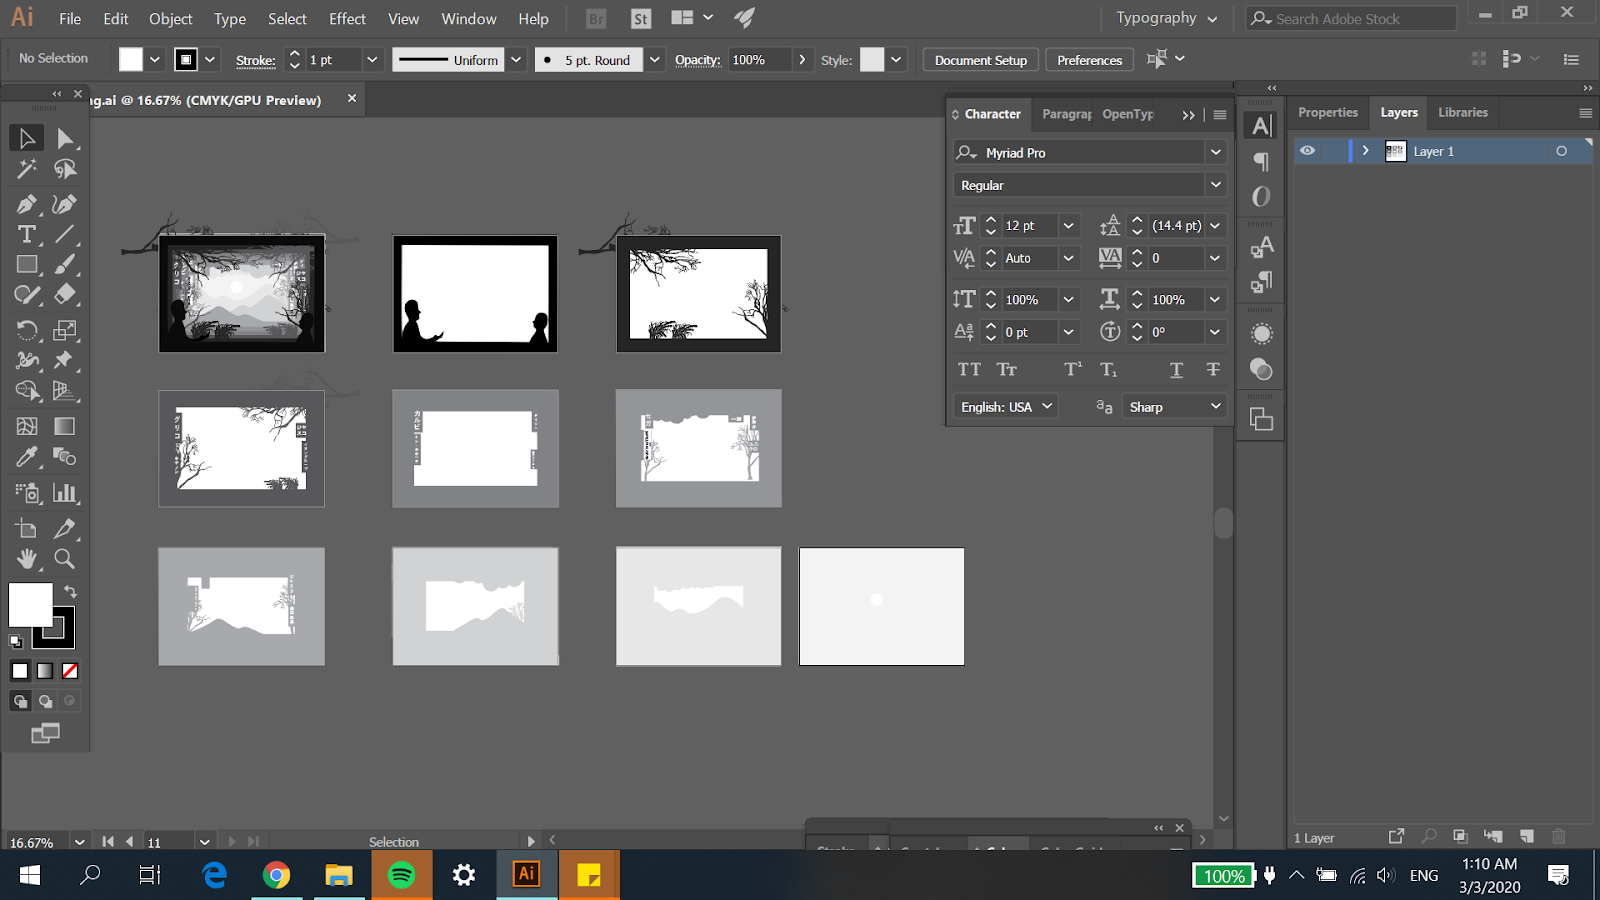 |
| Fig 1.8 Finalizing the layers |
 |
| Fig 1.9 Final Outcome of the Lightbox design |
 |
| Fig 1.10 Printing on A3 papers |
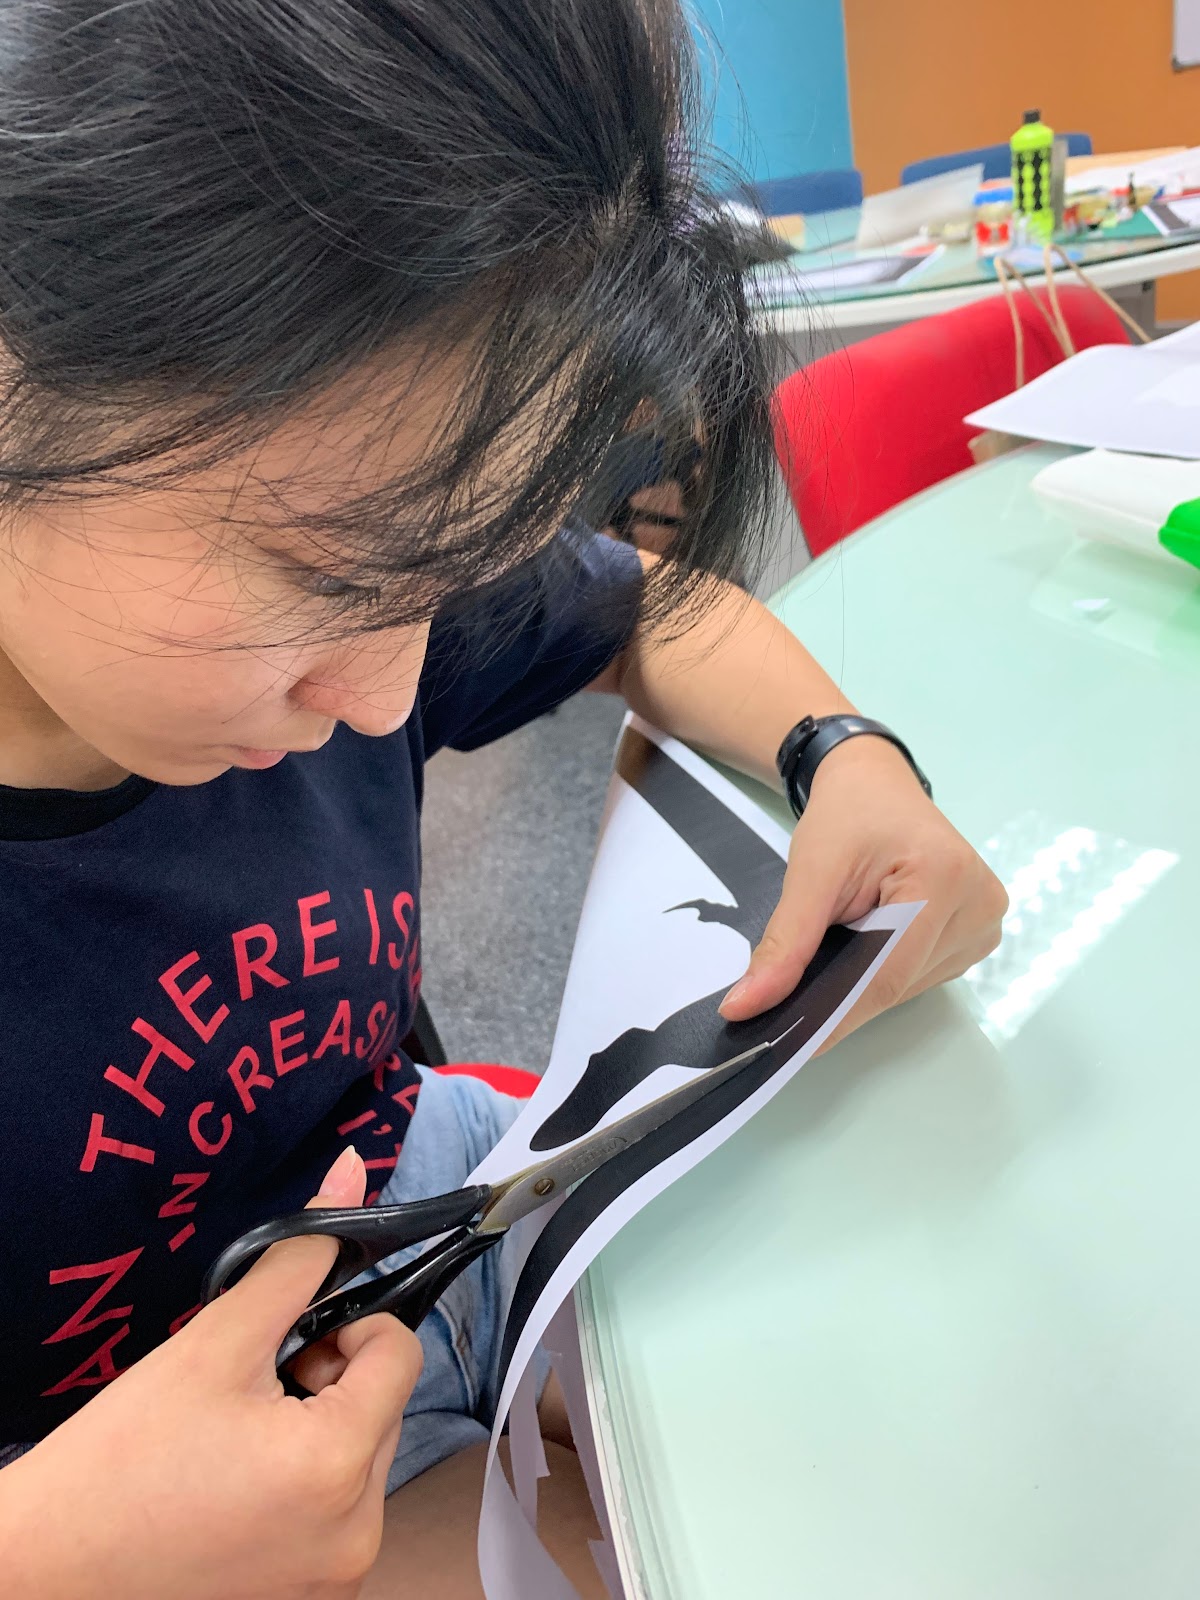 |
| Fig 1.11 Cutting the paper |
After finalizing the layers, I printed them on A3 papers. Next, everyone helped with cutting the papers. After cutting, we tested it out on a lightbox.
 |
| Fig 1.12 Testing out on lightbox |
Next, we used the papers as our template and traced it on modeling board then cut it.
Caitlin was in charge of making the Gacha machine. She followed a youtube tutorial and made a mini mock-up Gacha machine to test run for the first time.
 |
| Fig 2.1 Mini Gacha machine #1 |
Later, she made another one with bigger dimensions to test-run for the second time.
 |
| Fig 2.2 Gacha machine #2 |
A final test run model with the final dimensions was made to ensure the final Gacha machine was able to fit all the Gachapon capsules.
 |
| Fig 2.3 Gacha machine #3 |
After testing out three times, Caitlyn made the final Gacha machine but this time using black mounting board instead of modeling board.
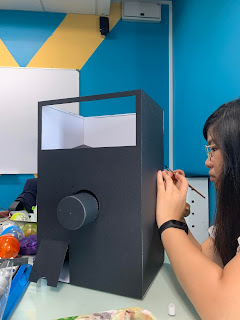 |
Fig 2.4 Making the final Gacha machine #4
|
Gacha Figurines
Yuanmei and Jia yi sculpted the figurines with air dry clay.
 |
| Fig 2.5 Sculpting the clay |
 |
| Fig 2.6 Painting the clay |
Then, Yuanmei proceeded to paint the dried ones using acrylic paints.
 |
| Fig 2.7 Painted clay figurines |
 |
| Fig 2.8 Final clay figurines |
 |
| Fig 2.9 Gachapon capsule |
We came up with ideas for the name of our project. Finally, we decided on "KyuCha Kit".
“Kyu” meaning nine in Japanese and “Cha” which is derived from the term “Gacha”.
Next, I wrote the rationale for our project and the gacha descriptions.
 |
| Fig 2.10 Rationale |
Fig 2.11 Gacha descriptions
Yuanmei and I designed the poster guide for the Gacha machine so that users understand what they're getting and labels were included to indicate which number platform and layer to display at. Next, the logo of KyuCha Kit was designed by everyone.
 |
| Fig 2.12 Process of poster design |
 |
| Fig 2.13 Final Outcome of Poster Design |
| Fig 2.14 Digitizing of logo |
 |
| Fig 2.15 Kyucha Kit Logo design |
Final Outcome:
Personal Reflection:
We worked really hard on this project. We met up on campus every day and stayed from morning till night. Nevertheless, I am extremely grateful for this module and all the lecturers for this opportunity to experience Japan and get to work with students from different courses. Throughout it was a very wholesome experience for me despite not getting much sleep and to juggle between another final project. For this project, I would say I enjoyed the process more than the outcome. Each planning and execution processes were equally important and I'm glad my group has high team spirit as we worked really well together. I am very satisfied with the end product and hopefully, it will bring inspiration and impact to others.


Comments
Post a Comment